Part 1-Syncfusion Dashboard Server Installation
Get the Installation Package and Detailed Dashboard Platform Installation Steps
Get the Installation Package
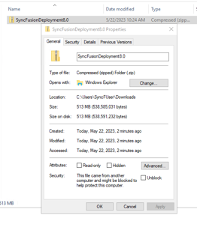
- Download the package provided to the SF application server to the Downloads Folder. 
- Go to the Downloads folder 
- Right-click on the SyncFusionDeploymentxxx.zip package and click Properties. 
The properties Dialog box should appear

- On the Properties dialog box, select the Unblock tick box 
- Click Apply 
- Click OK, to close the Dialog box 
- Right-click the SyncFusionDeploymentxxx.zip file 
- Click Extract 
- Extract the folder to the C:\ drive location. 
- Once the Extraction window closes, go to the Start Menu, in the bottom left corner of the taskbar 
- Right-click on the start menu icon and select Windows-PowerShell (Admin) 
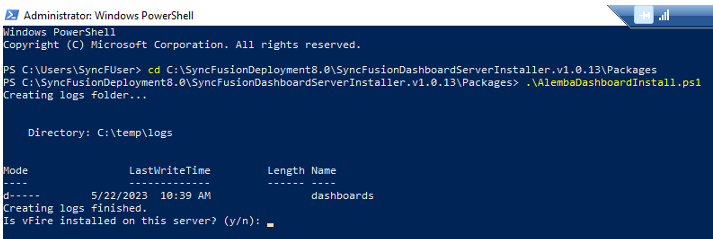
- When PowerShell opens, navigate to the install folder that you extracted earlier, by running the below command. 
Cd C:\SyncFusiondeploymentX.X\SyncFusionDashboardServerInstaller.v1.0.13\Packages- Run the AlembaDashboardInstall.ps1 file by adding the following code in Powershell and pressing Enter on the keyboard: 
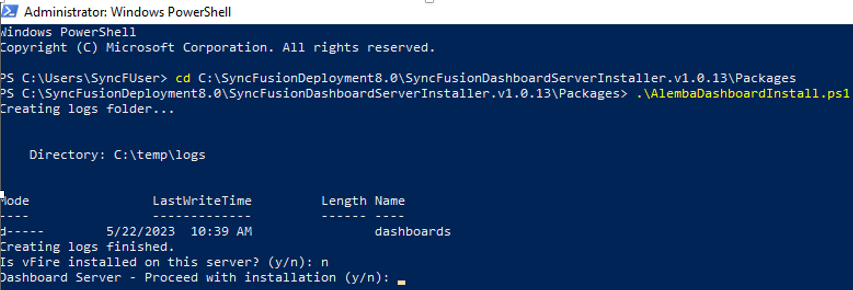
.\AlembaDashboardInstall.ps1- Answer the following prompts as they appear: 

Install the Dashboard Server
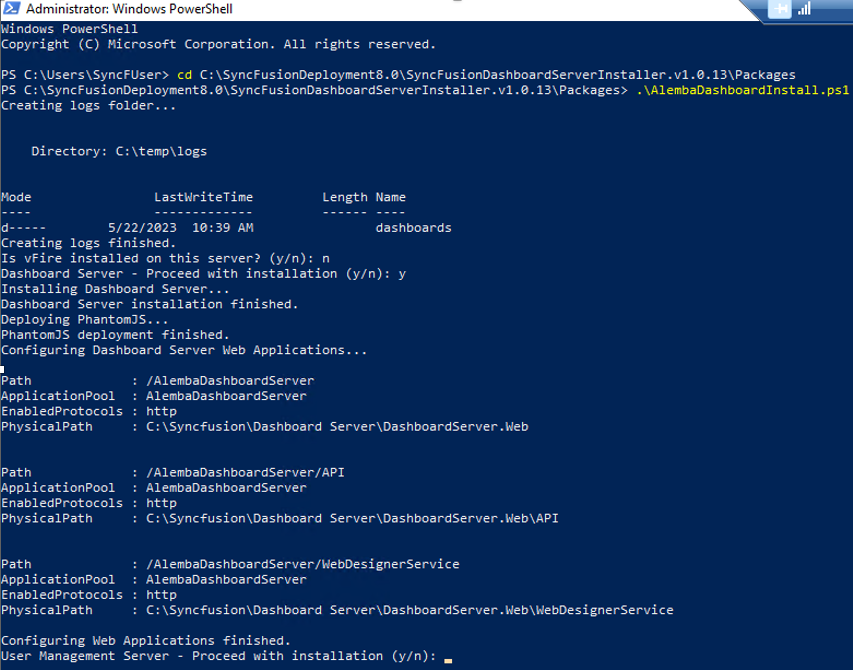
- When you are prompted to install the Dashboard Server, Answer with a y 
- Press Enter 

Install the User Management Server
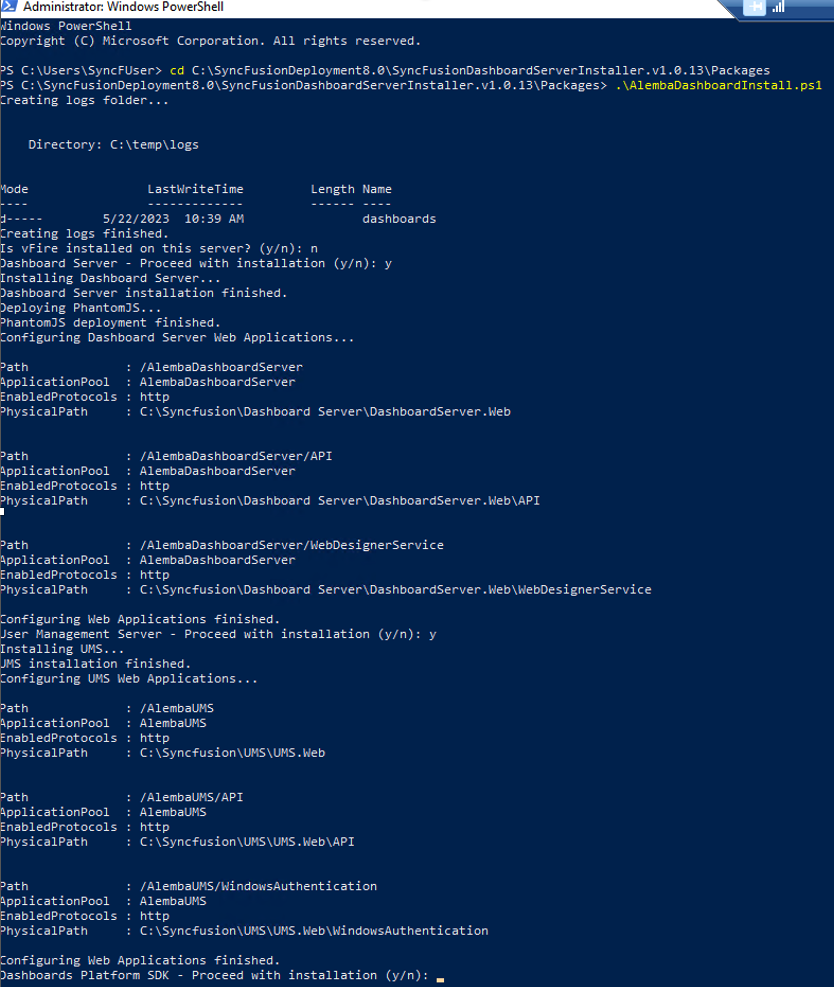
- When you are prompted to install the User Management Server, Answer with a y 
- Press Enter 

Install the Dashboard Platform SDK
- When you are prompted to install the Dashboard Platform SDK, Answer with a y 
- Press Enter 

Exit PowerShell
Once the Dashboard Platform SDK has completed its install, you will be returned to the command line.
- Type Exit 
- Press Enter 
C:\Syncfusion\Dashboard Server\DashboardServer.Web\App_Data\SchedulerService
Last updated
Was this helpful?