Dynamic Screens

You can use rules to control how your screens behave, to show or hide fields, and even control entire sections of your screens.

Dynamic screens allow fields and sections of the screen that an analyst or user is completing to be made available depending on dynamically changing conditions. You can configure rules that will make parts of the screen hidden, read-only, or optional until certain conditions are met at which point they become visible, optional, or mandatory.

This helps to keep the screen simple and reflect the order in which you want things done, helping the analyst or user complete the task in hand quicker.

You can apply these to most of the elements that make up a screen: fields (including HTML fields), headings, and entire tabs or sections. Buttons can even be hidden until required, according to your needs. Wherever the properties Hidden, Read Only or Required appear on a screen element, this feature can be used.

Best Practice

You can create a section (a collapsible section) to hold all of the linked data if you will be putting several fields onto the screen, as shown in the example where we deep linked several fields from the Triggering Incident data.

Collapsible sections are also ideal for organizing like-data sets together logically. When you need to hide certain fields, you can simply apply the hidden rule to the section instead of each individual field.

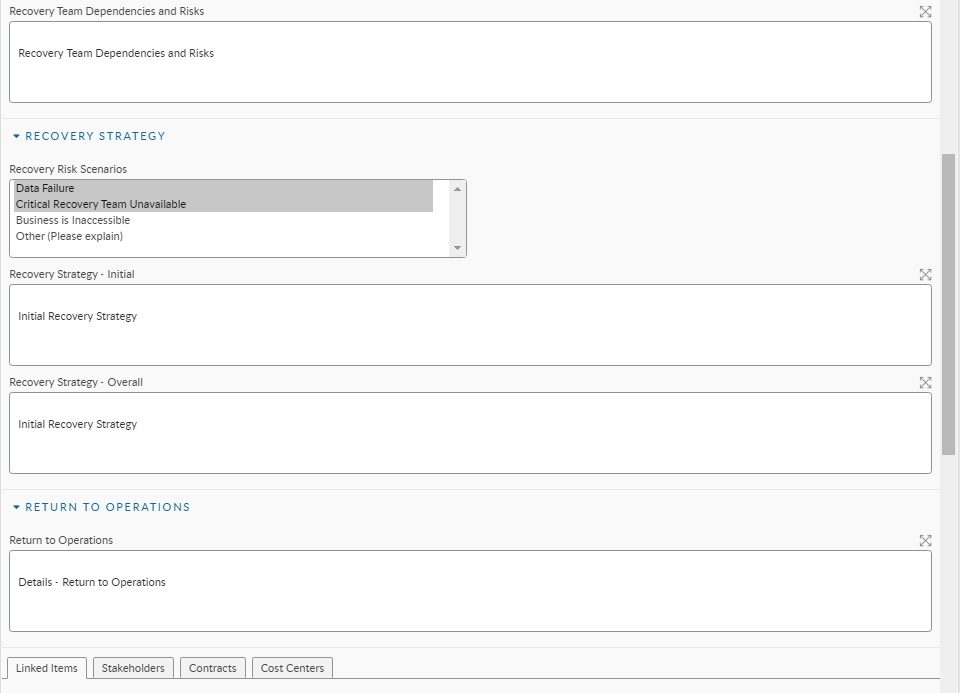
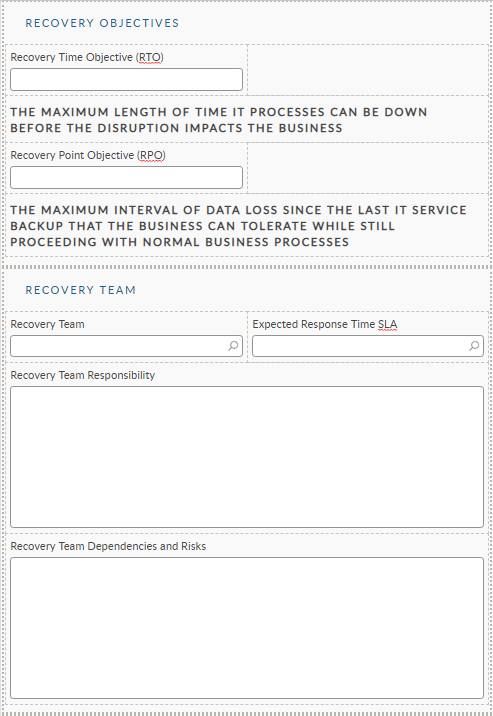
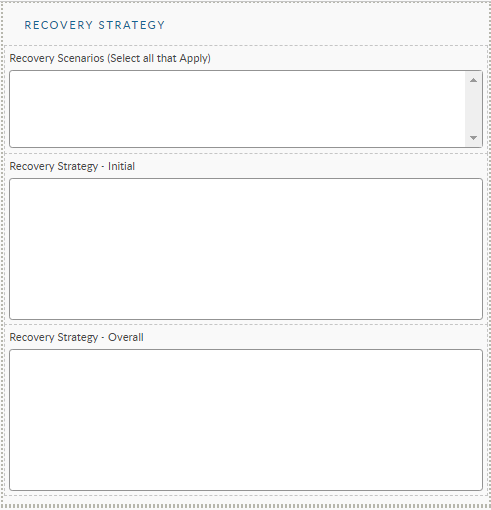
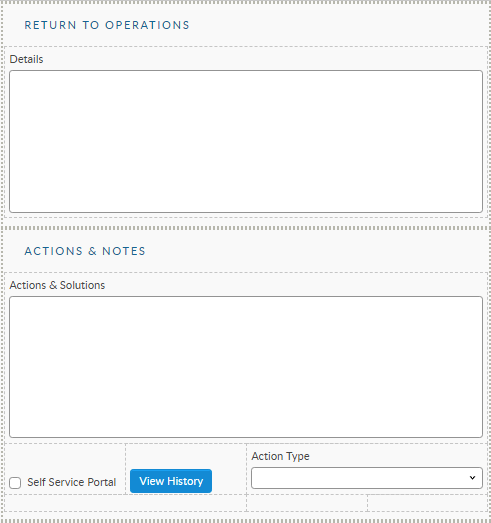
Example of Dynamic Screens in Action

Here are just some ways in which you can use dynamic screens.

  • display a warning if a call is about to breach

  • hide non-essential fields when users are logging a Critical incident

  • only show implementation details on a Change after it is Authorized

  • hide unnecessary detail on a Service form until you need to add it to the catalog

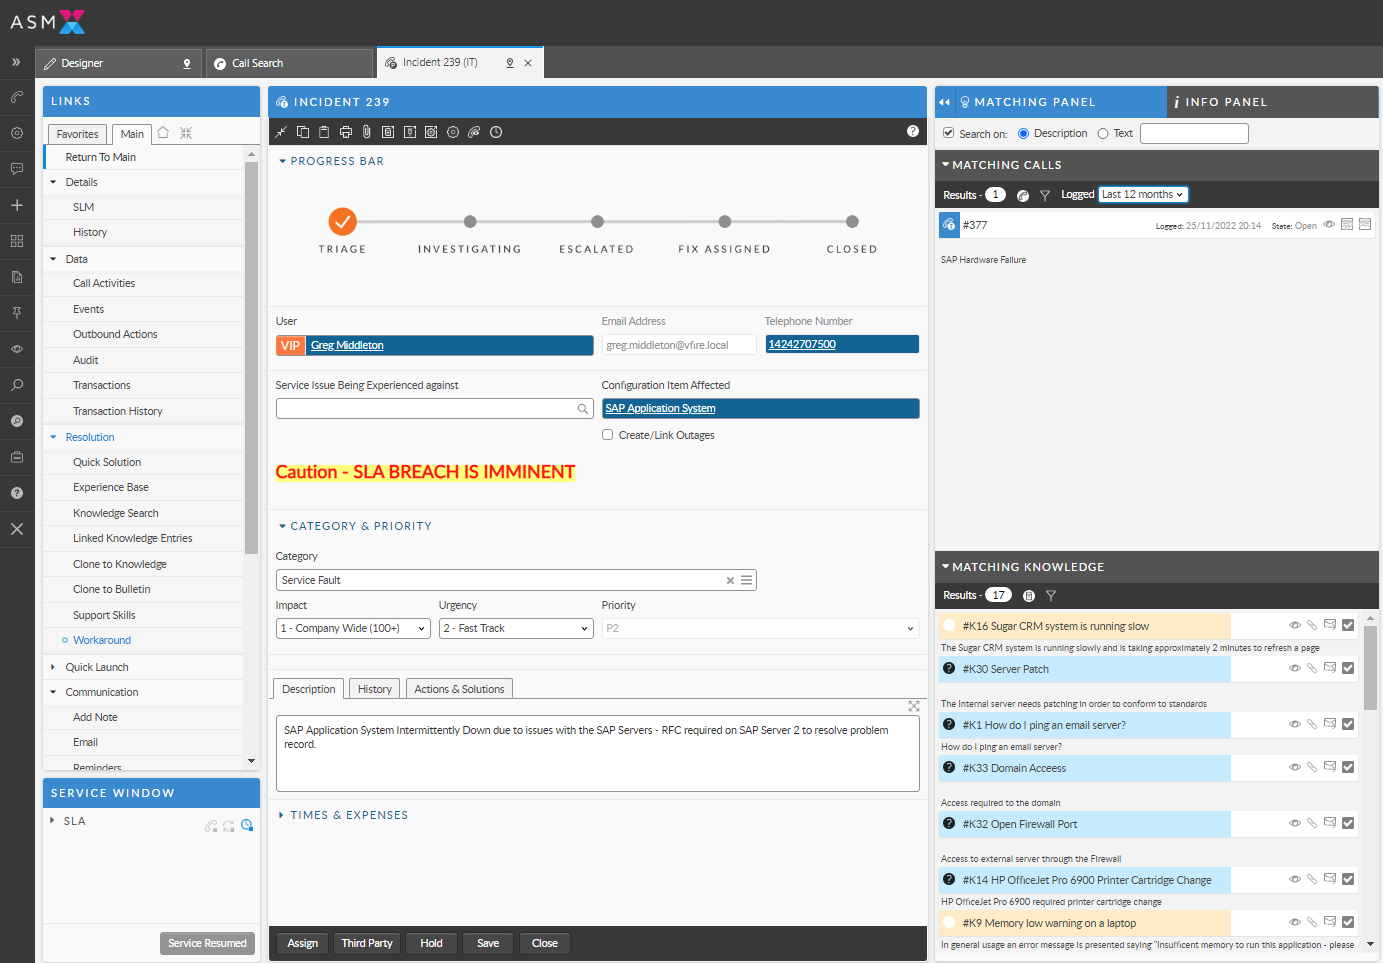
Breach Scenario Example

Add an HTML field to the screen in Designer that says "Caution - SLA BREACH IMMINENT", and write a rule for the HTML field that flags the desired SLA Alert level as NOT being met.

NOT [SLA Alert Level] = [Level 3]

Then, select to Hide the field if the rule is true in the HTML field properties. This rule tells ASM to hide the field unless the Alert level is 3.

You could write the rule to say [SLA Alert Level] <> [Level 3], but this would ignore blank values. By using the preceding "NOT", you cover all scenarios.

The screen changes to display a warning at the designated Breach level:

Best Practice

In many cases you will want to go ahead and write the positive value of the rule AND the negative value. This is because you may want to hide a field if the rule is true and require it if the rule if false, or vice versa. For example:

If you want the requestor to specify a workstation ID if the user is an employee but not if the user is a contractor (and therefore not using a company asset), then you would write the following rules and apply them to the workstation ID field properties for "Hidden" and "Required", respectively:

NOT [USER_TYPE]=[EMPLOYEE]

[USER_TYPE]=[EMPLOYEE]

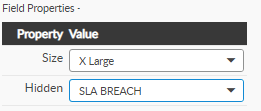
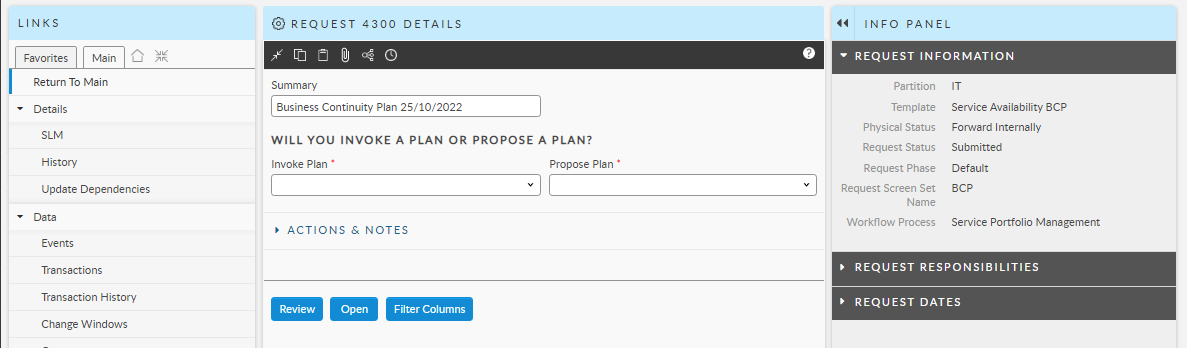
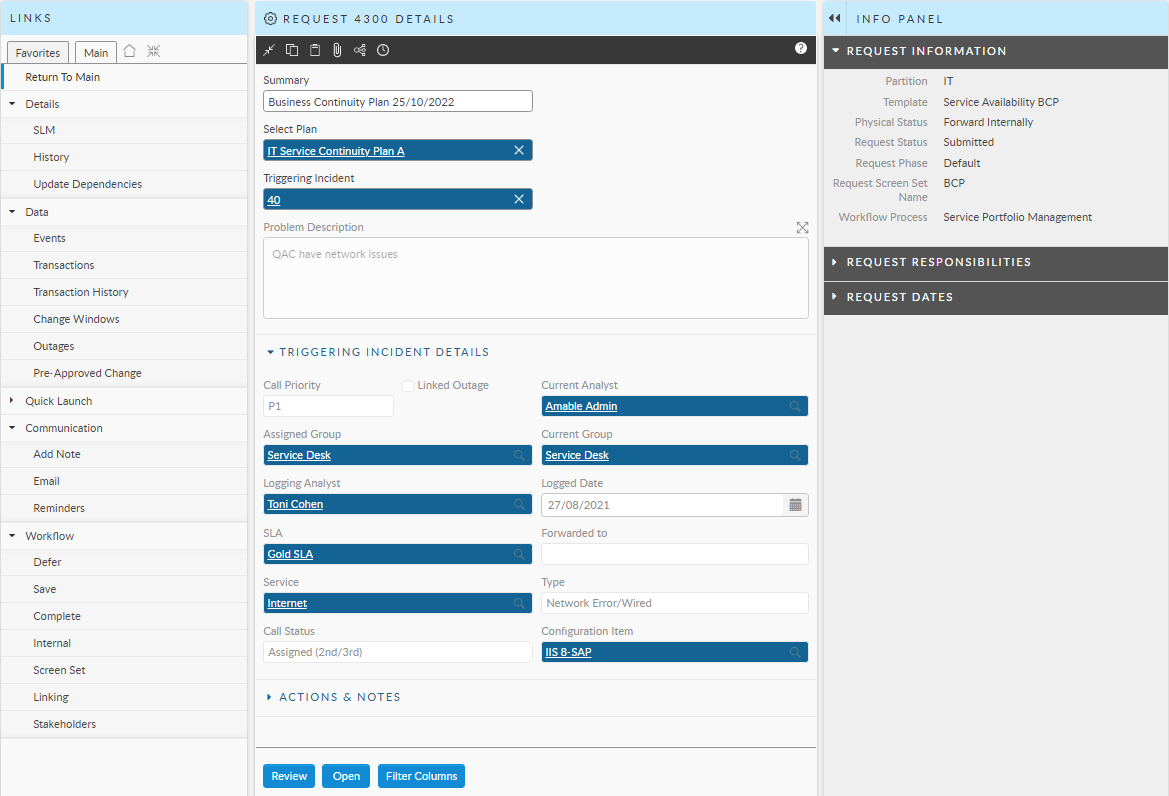
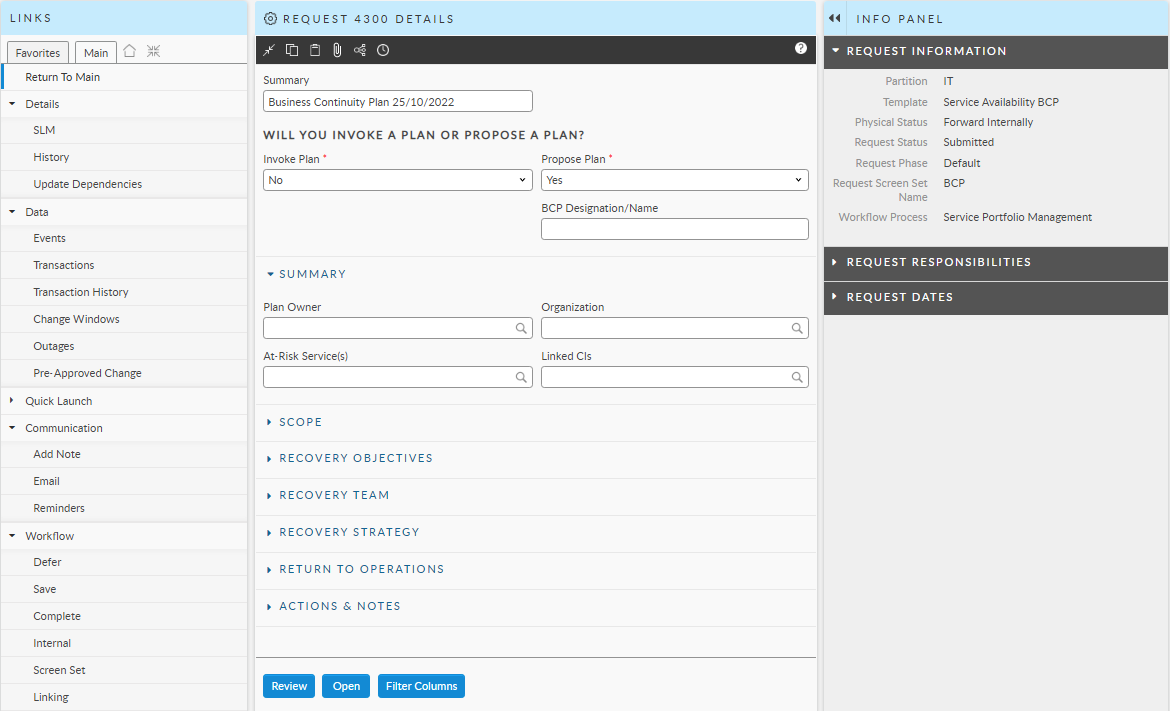
One screen - Multiple Processes
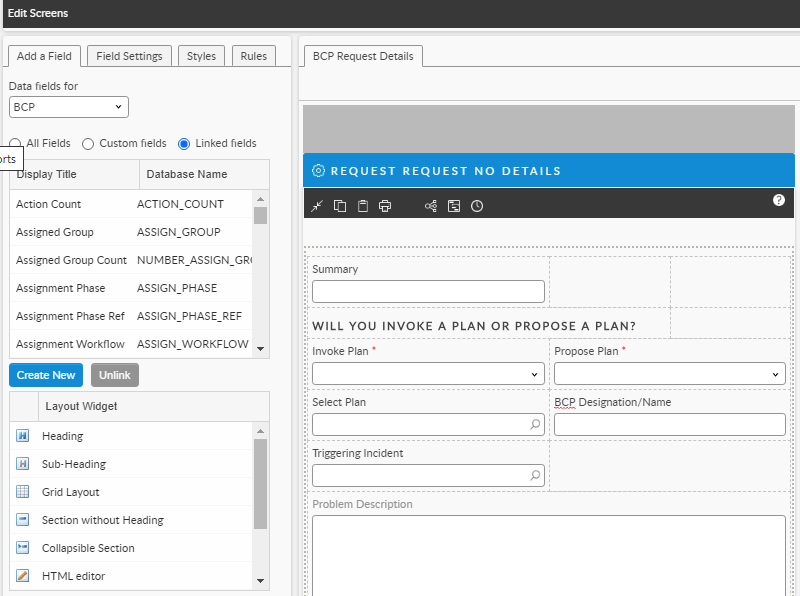
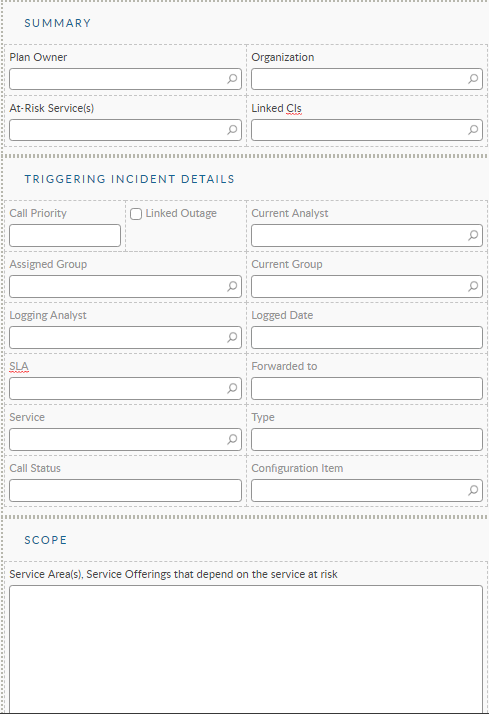
In this example, a Business Continuity Plan has been opened. The screen only has 2 fields at first, prompting the submitter to make a decision: Invoke a plan or create a new one. The rest of the screen will populate based on these answers. Once the questions are answered, they disappear.

If the user selects to Invoke a Plan, the screen responds accordingly and prompts for a plan name and triggering Incident. Note the Propose Plan, the question prompt, and the Invoke Plan boxes have all disappeared:

Once the triggering incident has been populated, the data from that incident is populated onto the screen and yet more data is now visible.

Analysts can click on the Plan name to get details of the plan itself. These inlcude all the CI and Assets linked to the recovery plan, the stakeholders, scope, team, objectives and risk scenarios, etc...

If the submitter had selected instead to Propose a new plan, an entirely different set of data would be prompted so that a new plan can be created, approved and eventually put into a live status:

Using Rules

In Screen Designer, all the fields are visible and you can configure them to behave as planned by using rules:

Best Practice

You can have one screen perform multiple tasks.

The workflow that sits behind your request template directs the correct tasks branch (using a conditional branching task) to follow, and field rules show or hide fields dynamically based on data in other fields.

In Designer, we can see them all, but the correct fields are only shown on the screens in Core, Nano, or the Portal based on the data in other fields and the corresponding rule sets. This is an excellent method for keeping your screens clean and clutter free.

In the example below, the linked fields from the triggering incident only show if the New Plan check box is not checked. If it is checked, then that section does not appear but rather, the section to collect details about the new plan show.